


Electric Fence for Animals: DIY, Wiring Diagram, and Instructions

Electric fence for animals: DIY, Wiring Diagram, and Instructions
Electric fences are an effective way to protect animals and gardens from wildlife and intruders. They are relatively easy to build and can be made with readily available materials.
In this article, we will show you how to build a DIY electric fence with a detailed wiring diagram and step-by-step instructions. We will start with the necessary materials, then show you how to assemble the fence and how to connect the energizer.
Materials needed
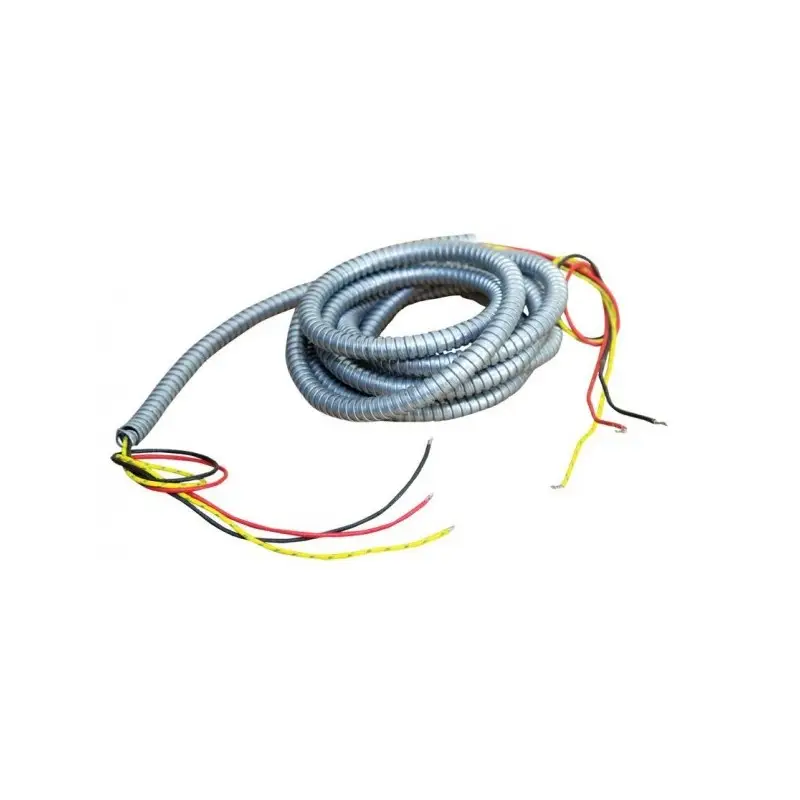
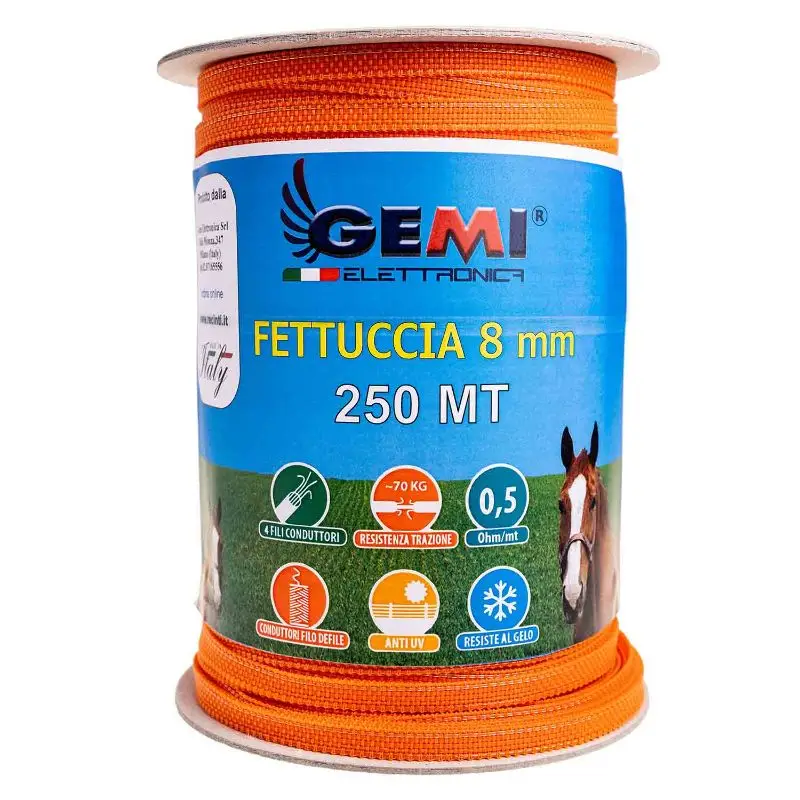
- Conductor wire
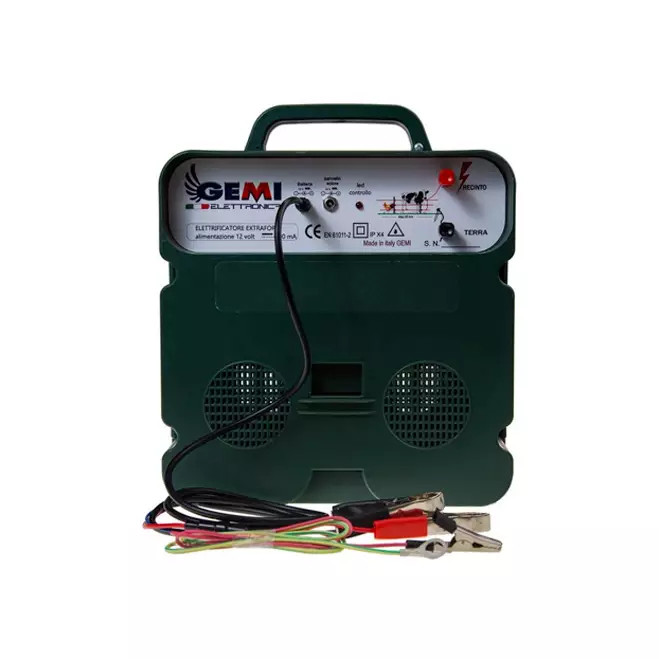
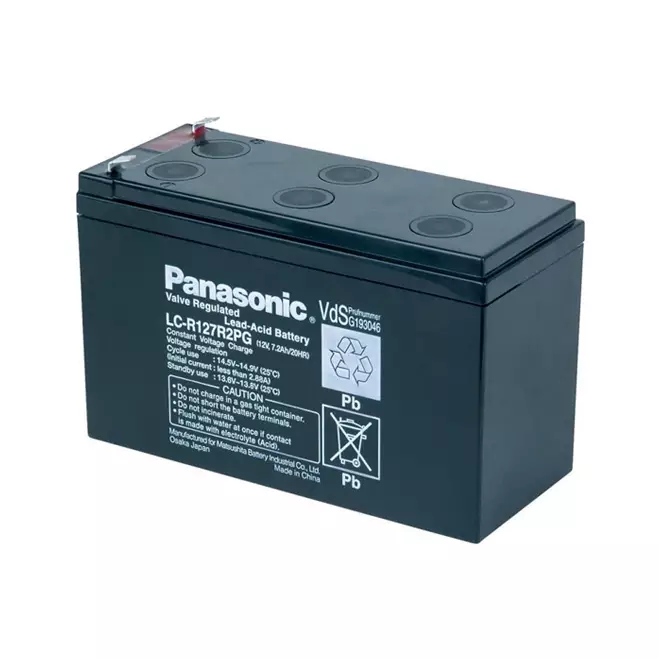
- Energizer
- Wooden or metal poles
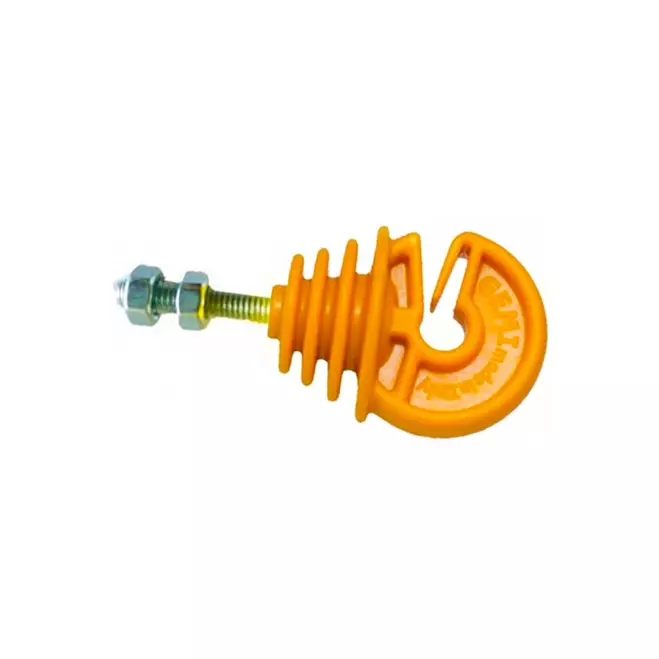
- Insulators
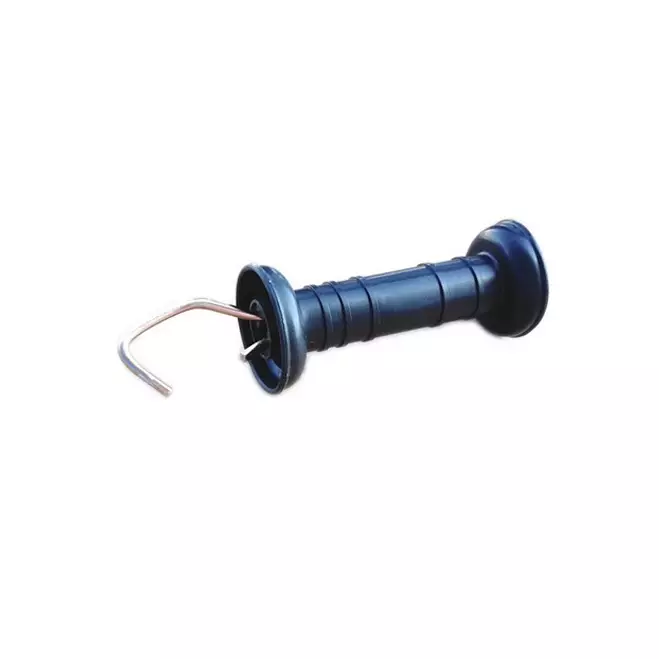
- Clips
- Grounding cable
- Various tools (pliers, screwdriver, hammer, etc.)
Fence assembly
- Start by planting the wooden or metal poles in the ground. The poles should be spaced about 10 meters apart.
- Once the poles are planted, attach the insulators to the poles. The insulators should be positioned about 1 meter above the ground.
- Unroll the conductor wire and thread it through the insulators. The wire should be taut but not too tight.
- Connect the conductor wire to the energizer.
- Connect the grounding cable to the energizer and then plant it in the ground.
Wiring diagram
The wiring diagram of an electric fence is quite simple. The energizer is connected to the conductor wire and the grounding cable. When the energizer is turned on, it sends an electric current through the conductor wire. If an animal or person touches the conductor wire, they will receive an electric shock.
It is important to note that the electric shock is not lethal, but it is enough to discourage animals and people from touching the conductor wire.
Step-by-step instructions
- Choose a path for your electric fence. The path should be large enough to contain the animals or people you want to protect.
- Plant the wooden or metal poles in the ground. The poles should be spaced about 10 meters apart.
- Attach the insulators to the poles. The insulators should be positioned about 1 meter above the ground.
- Unroll the conductor wire and thread it through the insulators. The wire should be taut but not too tight.
- Connect the conductor wire to the energizer.
- Connect the grounding cable to the energizer and then plant it in the ground.
- Turn on the energizer.
Tips for building a DIY electric fence
- Make sure the electric fence is clearly visible. This will help prevent accidental injuries.
- Regularly test the electric fence to ensure it is functioning properly.
- If you have pets, make sure they cannot reach the electric fence.
- If you have small children, make sure they are always supervised when near the electric fence.